


Windows Stop Code 0xc000021a Error [100% Fixed]
The Windows stop code 0xc000021a error occurs while updating Windows. Your PC won’t boot normally and can display the blue screen alongside the 0xc000021a error code. Few users are facing the “Windows stop code 0xc000021a error” while attempting to update their Windows. Here, we will see the reasons for this error and eight ways to solve it. If you cannot wait, we suggest starting with solution # 6
What is the Stop Code 0Xc000021A Error?
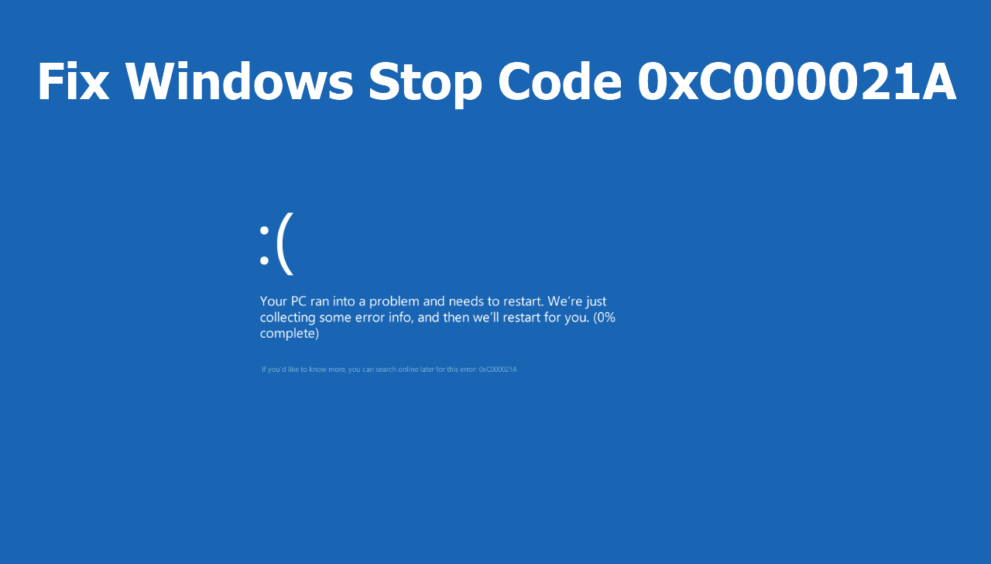
Stop Code 0Xc000021A Error is when “Your PC saw a drag and wishes to restart” occurs while updating Windows. Your PC won’t boot normally and can display the blue screen alongside the 0xc000021a error code.
What Causes The Stop Code 0Xc000021A Error?
Winlogon.exe: This is corrupted because of third-party software.
Csrss.exe: Factors that could cause the error are:
Device interference
Corrupt drivers
Corrupt Window registry
Unload of wbmprox.dll
Install incompatible with the operating system
What To Do To Repair The Stop Code 0Xc000021A Error?
You have known the causes of stop code 0xc000021a error, let’s see the solutions
Solution 1: Unplug External Devices
There can be interference with devices. It is recommended you unplug all of your external devices from your computer. Restart and check if it is gone. If not, try the next solution. If it goes away, then the issue is the external device.
Solution 2: Repair Corrupt System Files
Corrupt files can cause an error on your Windows 10 PC. Here you can use SFC (System File Checker). In Windows Safe Mode, follow these steps:
Step 1: Select cmd” and click “Command Prompt”. Then “Run as administrator”.
Step 2: Launch command prompt
Step 3: Select “SFC /scan now”. Then, the program will start scanning.
Step 4: Launch SFC scan
Step 5: Restart your computer and check the error.
Solution 3: Boot Windows Without The Driving Force Signature Enforcement Feature
The Driver Signature Enforcement feature does not allow drivers not to sign on Windows PC. You need to turn it off after you restart the system. Check these steps:
Step 1: Restart your PC. Keep pressing F8. If not working, press F11.
Step 2: You will see Recovery options. Select “Troubleshoot”>” Advanced Options”>” Startup Settings”>” Restart”.
Step 3: Press F7 and hold to start.
See if the error is gone. Check the next solutions if not.
Solution 4: Replace All Corrupted Registry Hive Files with Backups
When your computer checks the basic registry, it can be corrupted by the hive files. Here, you will need to replace the corrupted registry files with backups.
In Safe Mode, you can also replace the corrupted files in the registry editor through File Explorer. But, if you cannot, then you need to perform this task via Command Prompt under the Windows Recovery Environment.
You can enter the Windows Recovery Environment with the use of a Windows Installation USB/disc that contains the installation files of your current Windows version. Follow the next steps:
Step 1: To start with, insert the Windows installation USB or disc into your affected PC and then, reboot it.
Step 2: Press “Delete/F2/Esc” or other keys/key combinations when rebooting your computer to enter the BIOS.
Step 3: Now, set the installation USB or disc as the first boot order and follow the instructions. Save the changes and quit.
Step 4: Type ‘Widows Recovery Environment” as seen on the screen. Click “Repair your Computer”>” Troubleshoot”>” Command Prompt”.
Step 5: Enter the command: ‘cd windows\system32\config” and hit Enter.
Step 6: Type “dir” and hit Enter. Now, all the folders and files in the directory will be shown in the command prompt.
Step 7: Type “System System.old” (System – the actual file shown in the Command prompt) and hit Enter. You have to perform this operation for other files (not folders) that are shown in the Command Prompt.
Step 8: Rename all the files in the directory and then type “cd RegBack” and hit Enter.
Step 9: Enter “dir” and hit Enter. Now, you’ll see all the folders and files in this directory.
Step 10: Enter the following commands one by one and press Enter after typing each command:
copy /Y SOFTWARE
copy /Y SAM
copy /Y SYSTEM
After then, put the registry hives back for the folders that you renamed. And then, exit Command Prompt. Press the Exit key to remove Windows installation media and reboot your PC to check if the error is gone now.
Solution 5: Reset BIOS
Let’s reset BIOS to fix this error.
Step 1: Turn off your PC.
Step 2: Unplug every power cable on the PC to turn off a power source of the system entirely.
Step 3: Open the system’s chassis.
Step 4: Locate the CMOS battery of the computer and remove it. Wait for one to two minutes and then, place the battery back in.
Step 5: Restart your PC and check if things are alright now.
Solution 6: System Restore
If you’ve enabled restore in your Windows PC, then you can restore your computer to an earlier version and this will fix the issue.
Step 1: Reboot your computer and press F8/F11 to open the Windows menu.
Step 2: Click “Troubleshoot”>” Advanced Options” and you’ll see system restore.
Step 3: Select your operating system.
Step 4: System Restore will launch and you’ll be shown to select a restore point, choose a point that is close to the date you started getting error.
Step 5: Hit Yes or Next to the instructions that will appear to you.
Conclusion
We hope this helped. If you’ve no clue about the exact cause of encountering an error, then we recommend you try the solutions one by one until you resolve them successfully. For users looking for a way to recover unsaved files due to the error, Recoverit Data Recovery is highly recommended. The hassle-free recovery process of the software will help you rescue your important files safely and efficiently.
![Windows Stop Code 0xc000021a Error [100% Fixed]](https://techinfluence.net/wp-content/uploads/2025/04/Screenshot_943-150x150.webp)
![Windows Stop Code 0xc000021a Error [100% Fixed]](https://techinfluence.net/wp-content/uploads/2025/04/001_how-to-fix-code-31-errors-2623184-5bfc8fb1c9e77c0026c97c8d-d4d492ac258d4240ac617b2802e42bec-150x150.jpg)